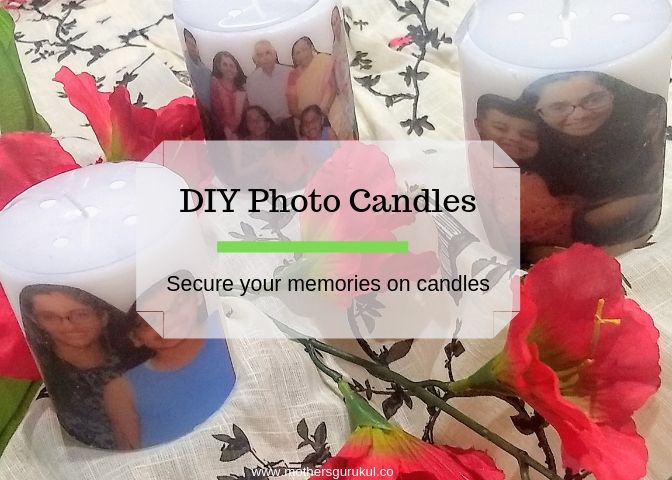
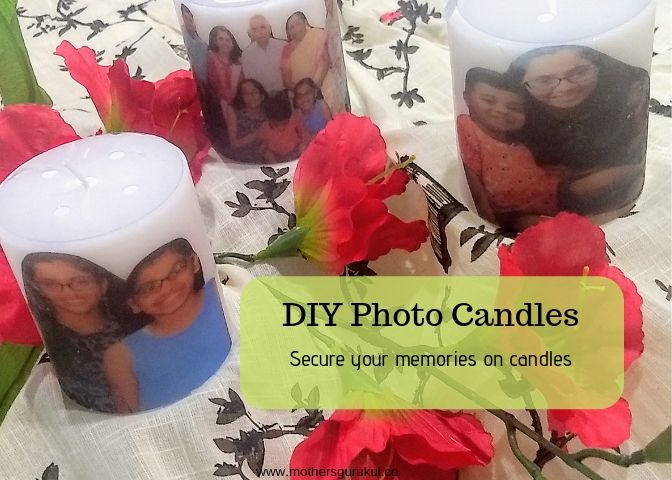
In my previous DIY post, I shared an easy way of making Succulent terrarium. Today’s project is also easy and it looks stunning. We are going to make Personalized candles. We are going to transfer pictures on candles. It can be a perfect gift for your near and dear one’s as a birthday gift or anniversary gift. If you have any special occasion coming and you are looking for something new, something personal then do try this. I am sure, your loved ones will love it and you will have a wonderful time creating them. I have made something similar earlier “Candle Art with Tissue Paper” but transferring pictures on candles was something new to me and I was very happy to see the result.
You will need:
- White Candles – scented/unscented
- Pictures
- White Tissue Paper
- A4 Paper
- Wax Paper
- Blow dryer
- Cello tape
Lets make it:
- First finalize the pictures that you want to transfer on the candles and save it on the computer.
- Cut a piece of wax paper big enough to be wrapped around the candle.
- Cut the tissue paper bigger than A4 paper. Fold the sides of tissue paper and glue it around the A4 paper. Make sure it is neatly adhered around the corners. We are going to run it through the printer. If it is not properly glued then it might get jammed into the printer.
- Now, the way you take print outs, place the A4 sheet (having tissue paper) inside the printer. Note that this is the part you will put down in the printer.
- Check what size you want according to the size of the candles and print.
- Once you have the print out, you will see the photo on the tissue paper. Cut the outline of the photos.
- Now, position the cut-out on the candle, then wrap the wax paper around the candle. Secure it with a tape at the back. If you wish, you can hold the wax paper tightly.
- Lay down the candle on a flat surface. Blow dry the design. You will see the design start looking little glossy because of the wax and the heat.
- Once you cover the entire design slowly remove the wax paper. Since we have used white tissue, you will not see the paper but only the design will be there on the candle.
This post is a part of #weeklybloghop hosted by me and Neha Sharma from www.growingwithnemit.com Follow hashtags- #GWNxMG #weeklybloghop #bloghop to read posts from the participants.

Edits: www.canva.com