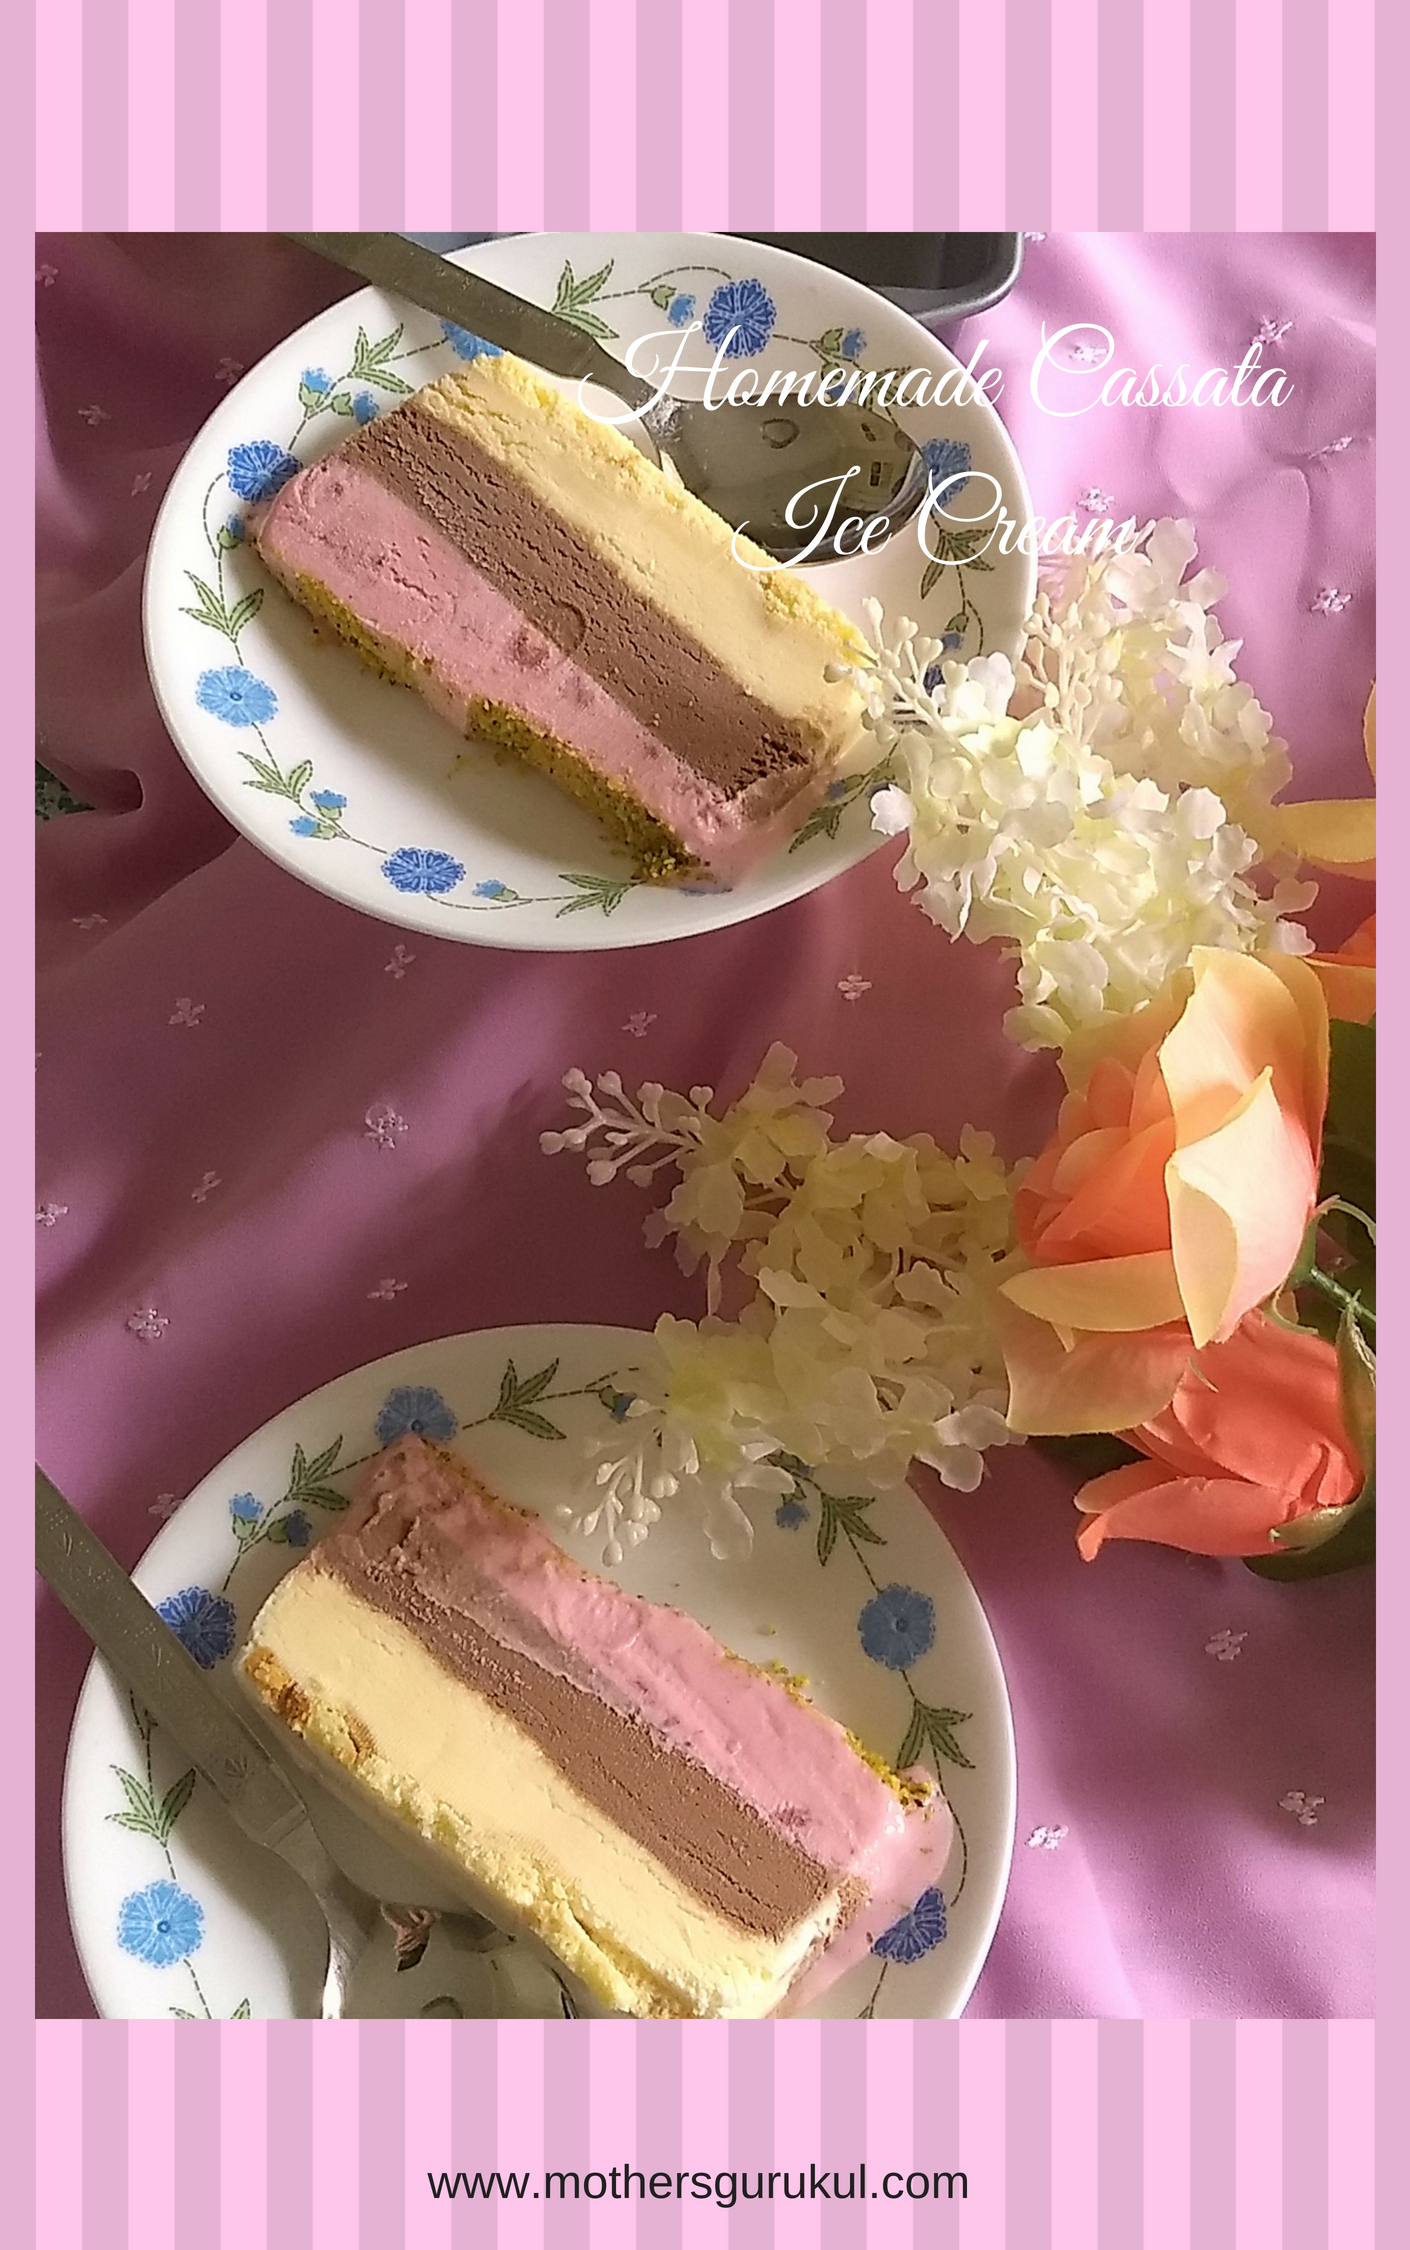
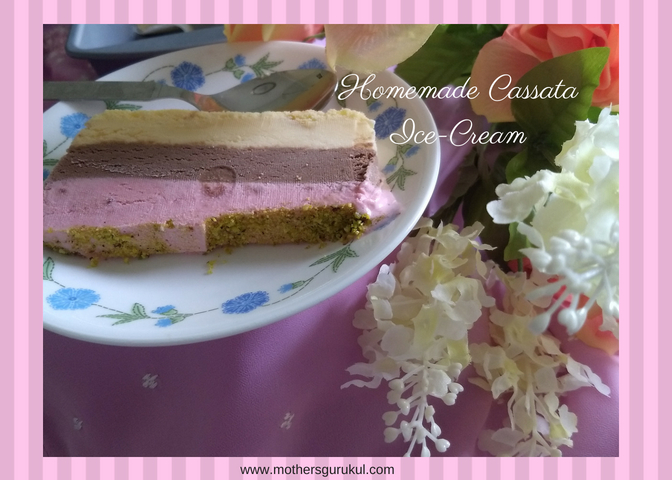
When anyone says Cassata Ice cream? A nice cut slice of three flavored ice-cream? I remember, there was a time when Cassata was in trend. That tri-colored ice-cream nicely wrapped in butter paper looked so exotic. It looked pretty complicated ice cream. But now I can proudly say that is history now. Because I made it a couple of times this summer and I must tell you it’s very easy. I tried it last summer but every time it got over before I could click the picture. But recently, we gave a farewell party to one of our very good friends. Without any second thought, I decided to make Cassata Ice-Ice cream as my friend’s family is a big fan of Cassata.
So, withouht any further delay let’s start:
- Loaf Pan
- Wax paper
- Aluminum foil
- Vanilla cake
- Three ice creams of your choice – vanilla, strawberry and, chocolate were my choice
- Mixed nut powder (optional)
Let’s start assembling:
Assembling and the proper setting is the key step in Cassata Ice-cream. Don’t rush to the next layer until the first layer is properly set.
- If you are using store-bought ice cream then take it out from the freezer and keep it in the fridge so that it will be easy for layering. You have to repeat this step for every layer.
- Cut a piece of wax paper for lining the loaf pan. You will be using it to take the ice cream brick out so cut it bigger than the lan size. Place it inside the pan. Fold the sides over the edges.
- Cut the vanilla cake slices and arrange them at the bottom of the loaf pan. This will be the base of the ice cream.
- Pour the Vanilla Ice cream as the first layer. Depending upon the height of the pan, decide the quantity of the ice-cream you want for each layer. Keep in mind, you have three layers of ice cream.
- Cover it with aluminum foil and put it in the freezer to set. For the next layer, take out your second ice cream from the freezer and put it in the fridge.
- Once the first layer is nicely set, pour the second layer and wait for it to set. Repeat the same steps for the third layer.
- Now once all the three layers are set, if you like, spread the mixed nuts mixture as the top layer. Press it gently with your fingers. Here, I placed a cling wrap sheet on top of the mixture to avoid any ice crystal getting on the mixture and making it soggy. Cover the pan with the foil and for the last time put it in the freezer.
You are done!! Now, wait for your guests to come..:)
Last step: Impress your guests and enjoy the compliments!!
Things to remember:
Do not rush through the steps. Longer the ice creams stays in the freezer, neatly it will cut in slices.
Serving suggestions:
Take it from the freezer a couple of minutes before serving. Lift the sides of the wax paper. Bring the loaf from the pan to your cutting board. With a sharp knife, cut even slices.
Note:
If you are using store-bought ice-cream, then it’s a very straight forward process. If you wish to make your own ice cream then I follow this recipe link. This is a Kulfi recipe but you can make it plain vanilla by omitting nuts, kesar. Divide it into three parts and add strawberry crush and cocoa powder.