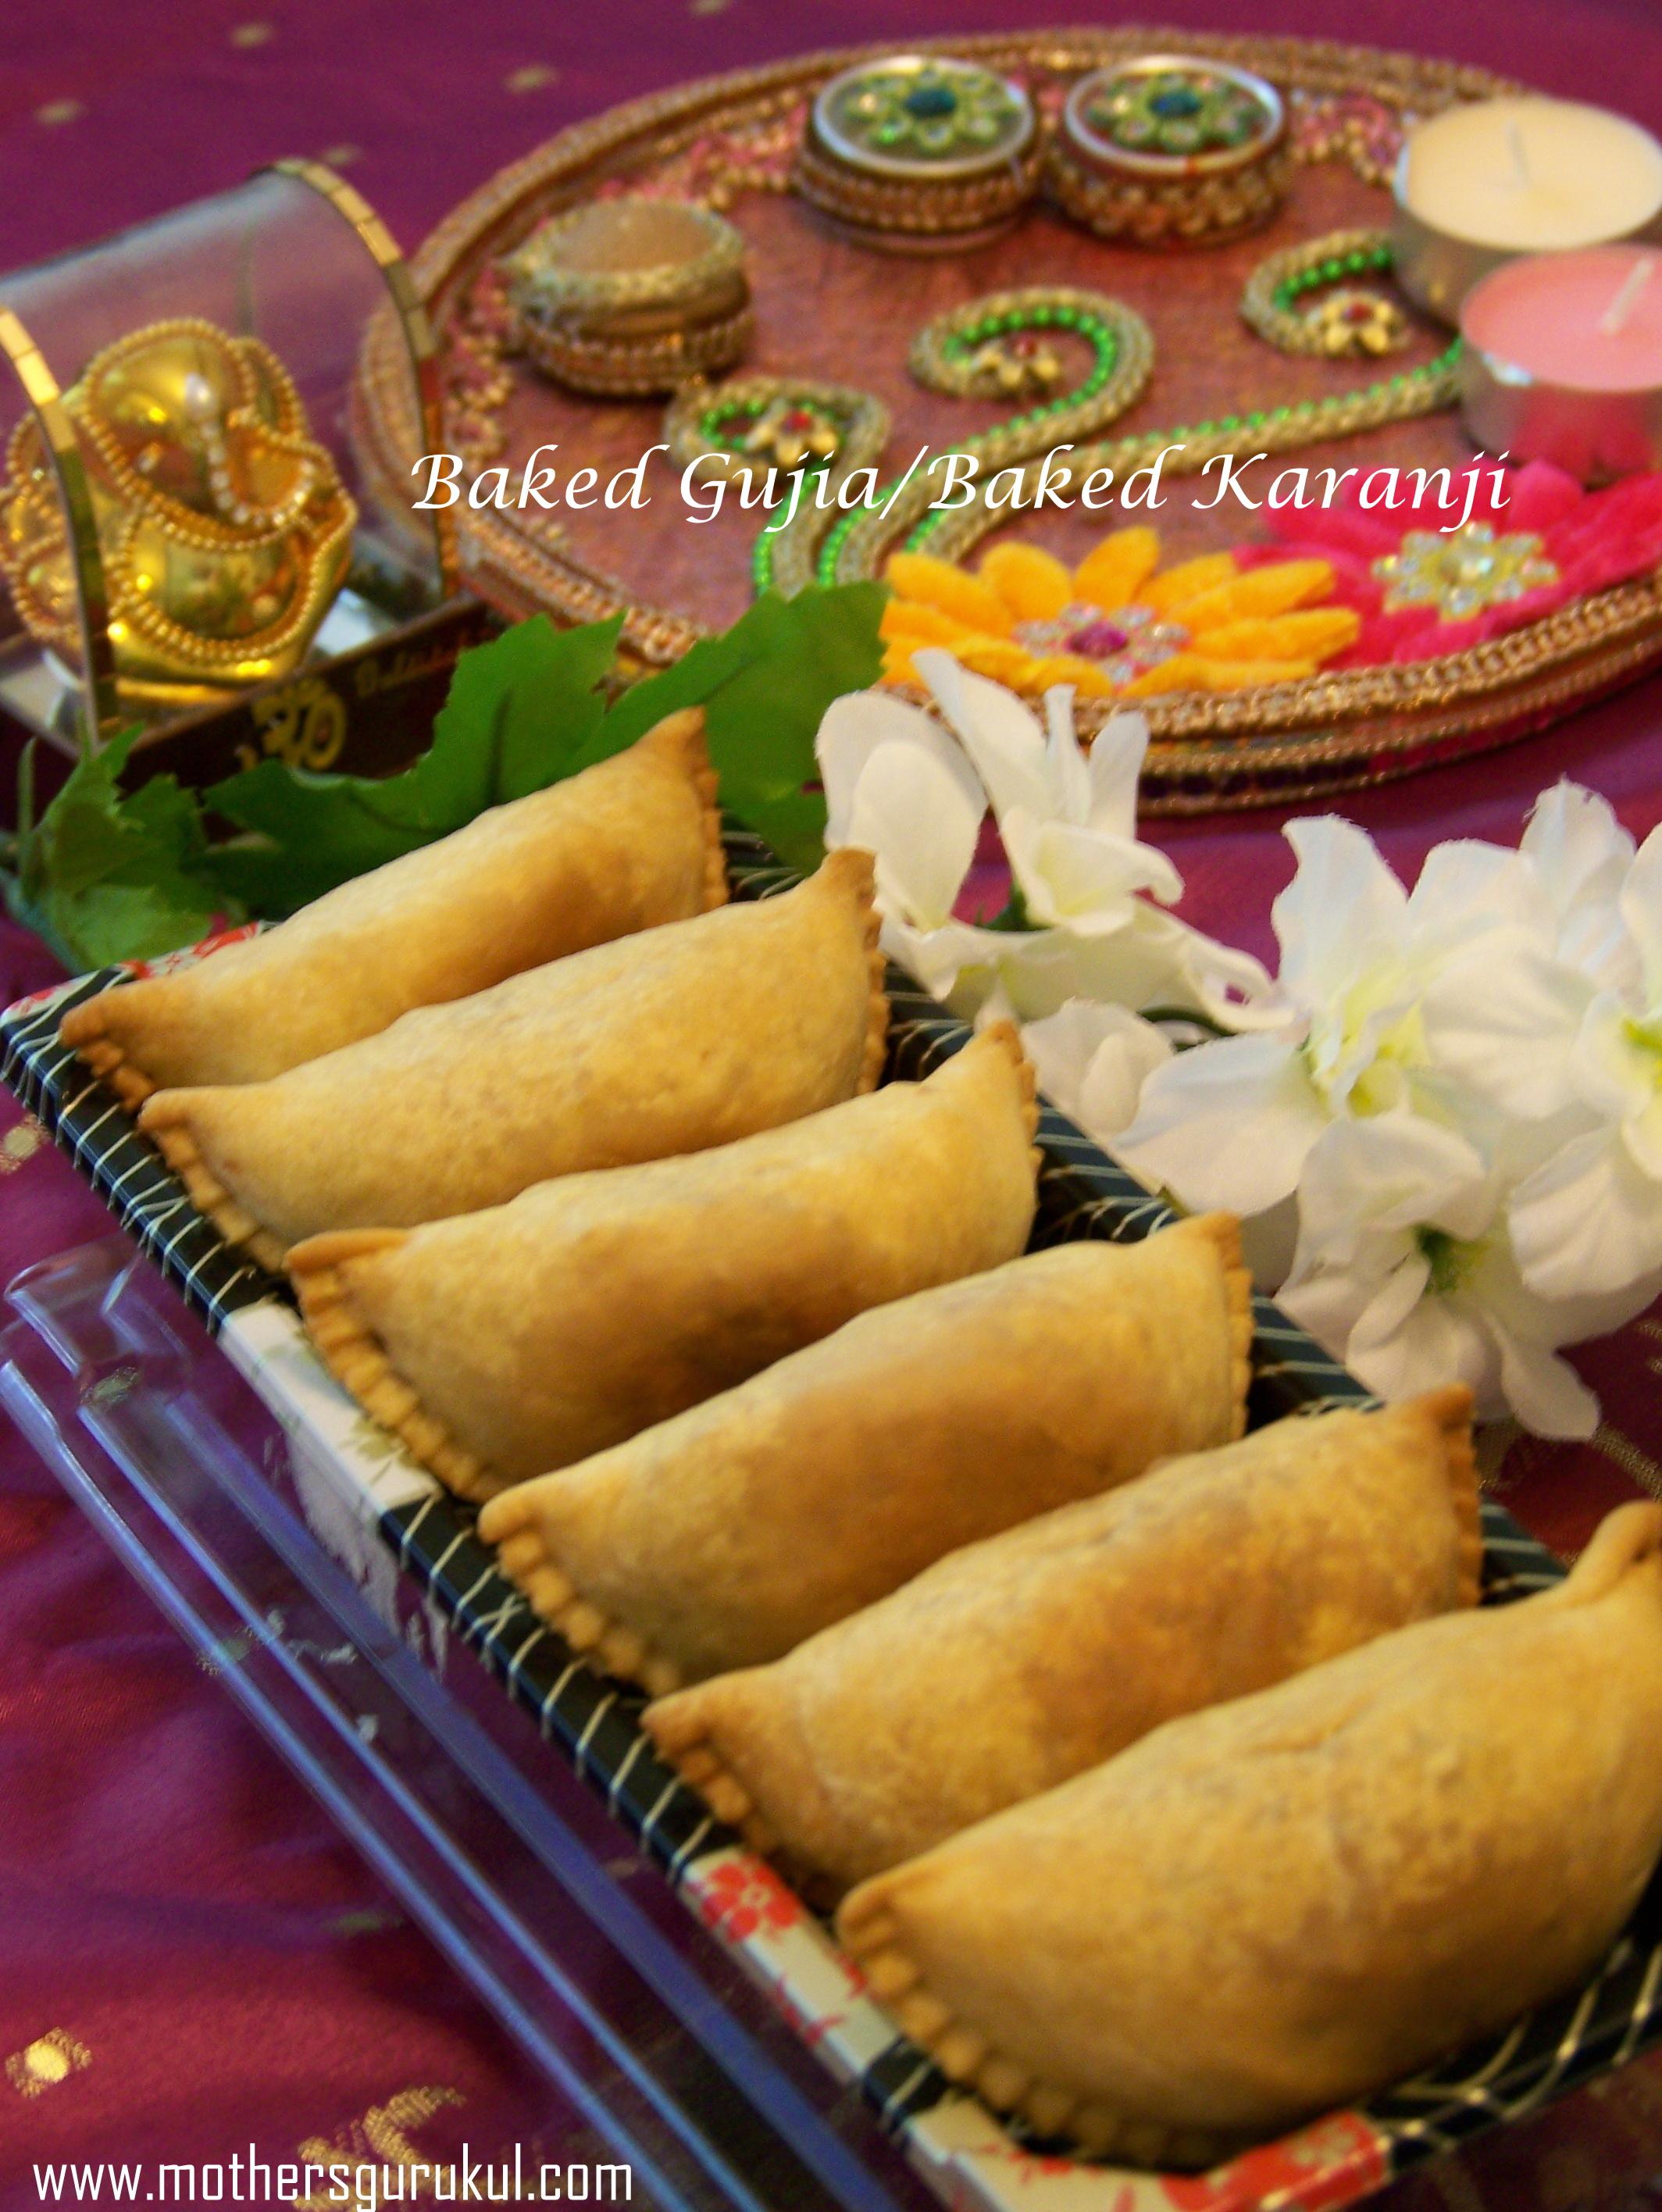
Have you started preparing for Diwali? I am going to start from today. Last year, I tried Baked Gujia for the first time. For two reasons- first that I wanted to try it and second I was kind of bored doing the frying part. I wanted something that my oven can take care of. It turned out really good. My family and friends loved it. So, this year also I am going to make Baked Gujia only. Whenever I have time, I make the filling. You can use coconut, or fresh khoya (mava), dry fruits. Whenever you are ready to serve them, just microwave for few seconds and they tastes yumm. For outer glaze, you can either coat the outer covering with milk or condensed milk. Condensed milk will give the gujia a mild sweet taste and shine as well. I would highly recommend you to try these baked gujia this year.
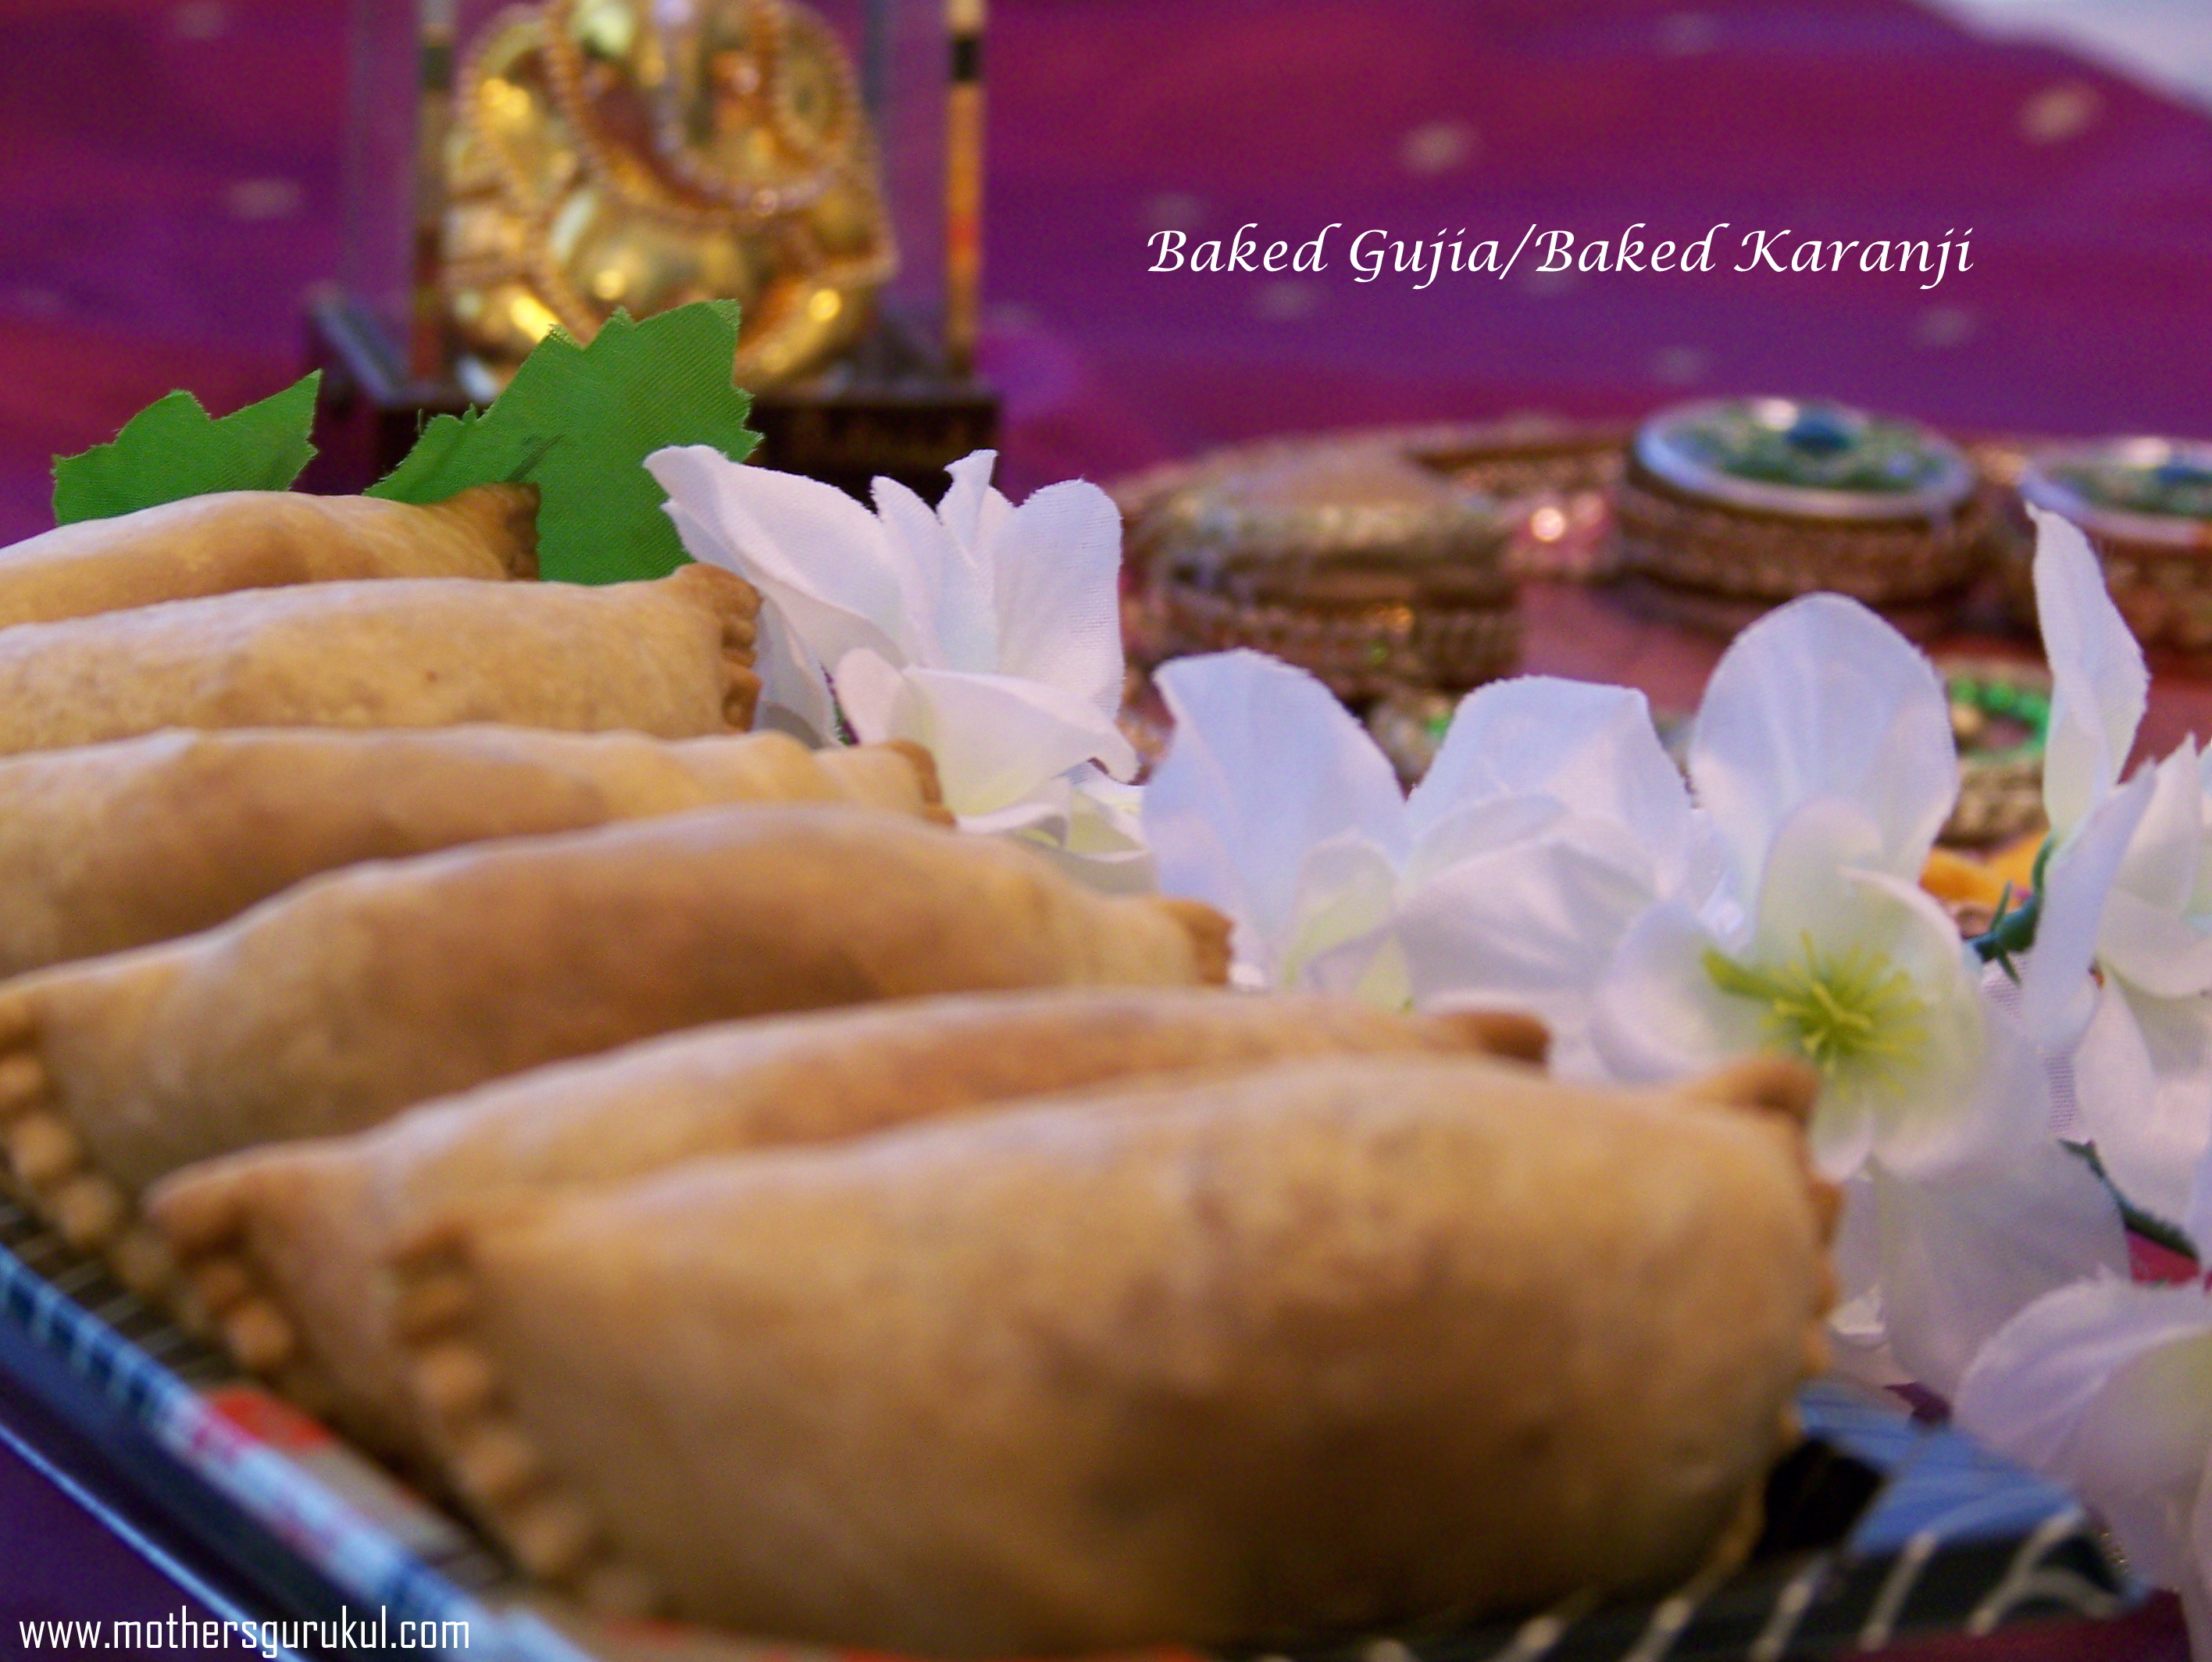
BAKED GUJIA
Makes : 12-14 gujia (approximately)
Here is what you will need:
For the filling:
- Desiccated coconut- 1 cup
- Sugar- 1 cup
- Sooji/ Semolina- 1 tablespoon
- Cardamom powder- ¼ teaspoon
- Raisins or other dry fruits – optional
- Chironji- optional (chironji is a tiny almond-flavored dried seeds of a bush called Buchanania lanzan)
- Milk- ½ cup (approx.)
For the outer covering:
- 1 Cup – Maida (All-purpose flour)
- 4-5 tablespoon – melted ghee/oil
- 1-2 tablespoon – powdered sugar
- Warm water as required
How to get the shell shape: Karanji mold/karanji cutter or use a fork.
To make the filling:
- Dry roast the coconut and sooji separately. Once it cools down, add sugar. To it add cardamom powder, raisins, chironji. I don’t like when your inner filling starts coming out with every bite. So, I add milk to it slowly. Once you see the mixture is starting to get wet (not sticky), stop adding milk.
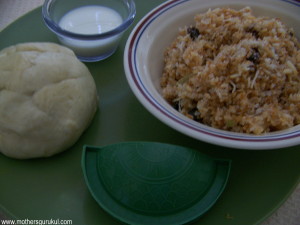
Preparation of Gujia:
- Before start making Karanji, first once again knead the dough for added softness. Divide it into balls and again cover it with wet cloth.
- Roll the ball into a small circular poori. Rub the mold with edges with few drops of milk. Place this rolled circle on to the mold. Put little bit of coconut mixture on the first half. Fold it over the second half. Trim off the excess dough. Repeat the same process for rest of the balls. Do not forget to cover the prepared karanji with wet cloth.
- If you do not have the mold, then after rolling the ball, place the rolled circle into your palm or on your rolling surface and follow the same steps till the folding part. Now with the form, mark the edges. It will give the same impression same like the mold.
- Preheat oven to 355 F and spread foil on baking tray and grease it with ghee/oil.
- Brush melted ghee on gujiyas and bake for 15-20 min till light brown color. Turn the Gujias once you see the brown color. It takes approximately 20-30 minutes (keep an eye). Again bake them for approximately 15 minutes. Keep an eye while baking the other side as your oven is already heated.
- Cool them and keep in airtight container.
Great.., baking is a better and healthy option ove deep frying.
Looks very good,mail me some sweets,