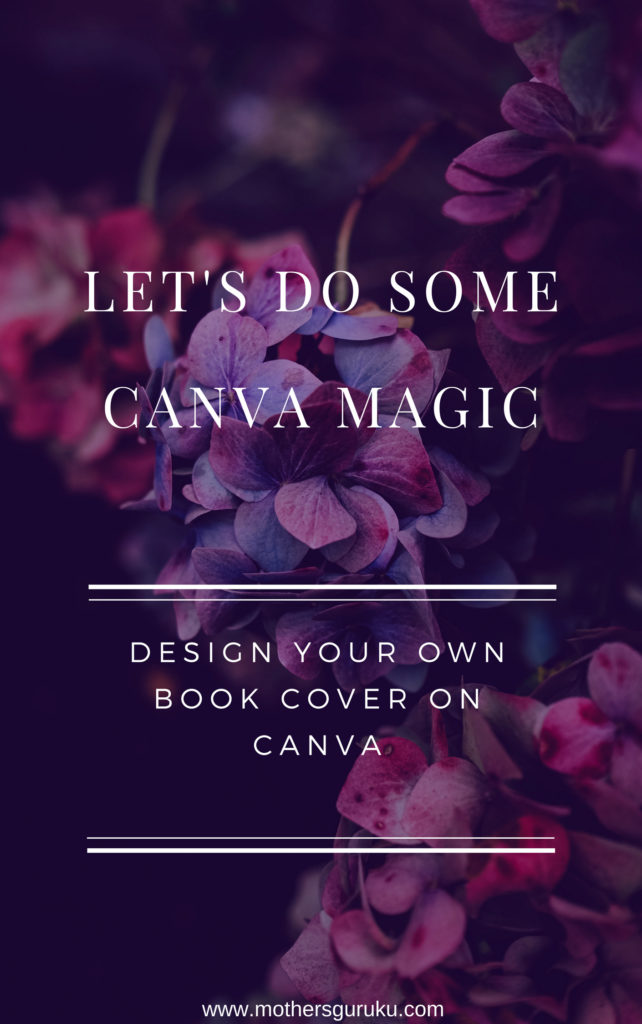
After I have explored Canva, I realized what all I was missing. Seeing those pretty pictures, professionally edited images that makes any blog an interesting and catchy read, I used to wonder how I can create such stunning pictures for my posts? During my book writing journey, I tried my hands on Canva and I simply loved it. Now I cannot publish my post unless I edit my pics using Canva. It is such an easy tool that anyone can create stunning images in no time. Whether it be a blog post or a banner or a facebook page cover or a book cover, Canva has covered it all. I am not a tech person. I don’t understand coding and programming language. Canva serves my purpose every time. And above all, it is free. Yes, now you can create your own images on Canva for absolutely no charge.
In last post, I told you about self-publishing and why a catchy book cover is important. I have designed my book cover using Canva and believe me it was so much fun. If you haven’t explored this amazing tool yet then let me help you with it. Alike any other tool, it might seem to be a lot of work but trust me it’s very straight forward. So, without any further delay let’s start digging.
Step 1: Go to www.canva.com
You will get a screen something like this. This is the home screen of Canva.
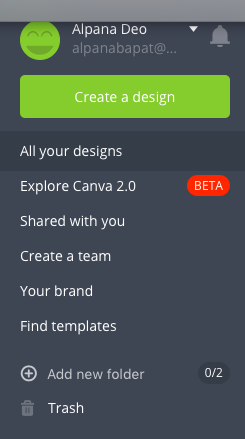
There will be a vertical slider which says Create a design.
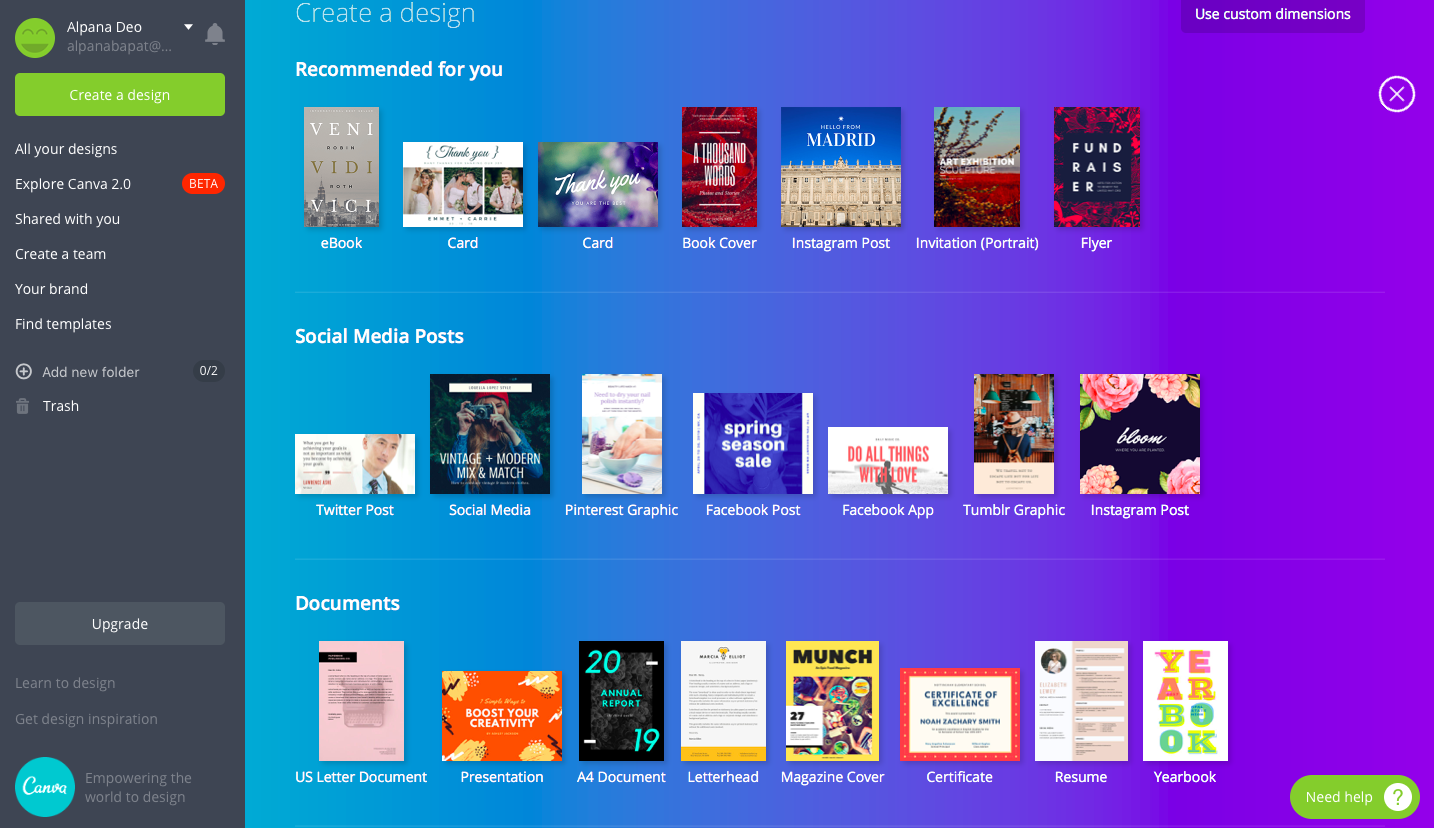
Step 2: You can do more to expand the window and you will see the other options. Since we are creating book cover, you can pick blogging & eBooks.
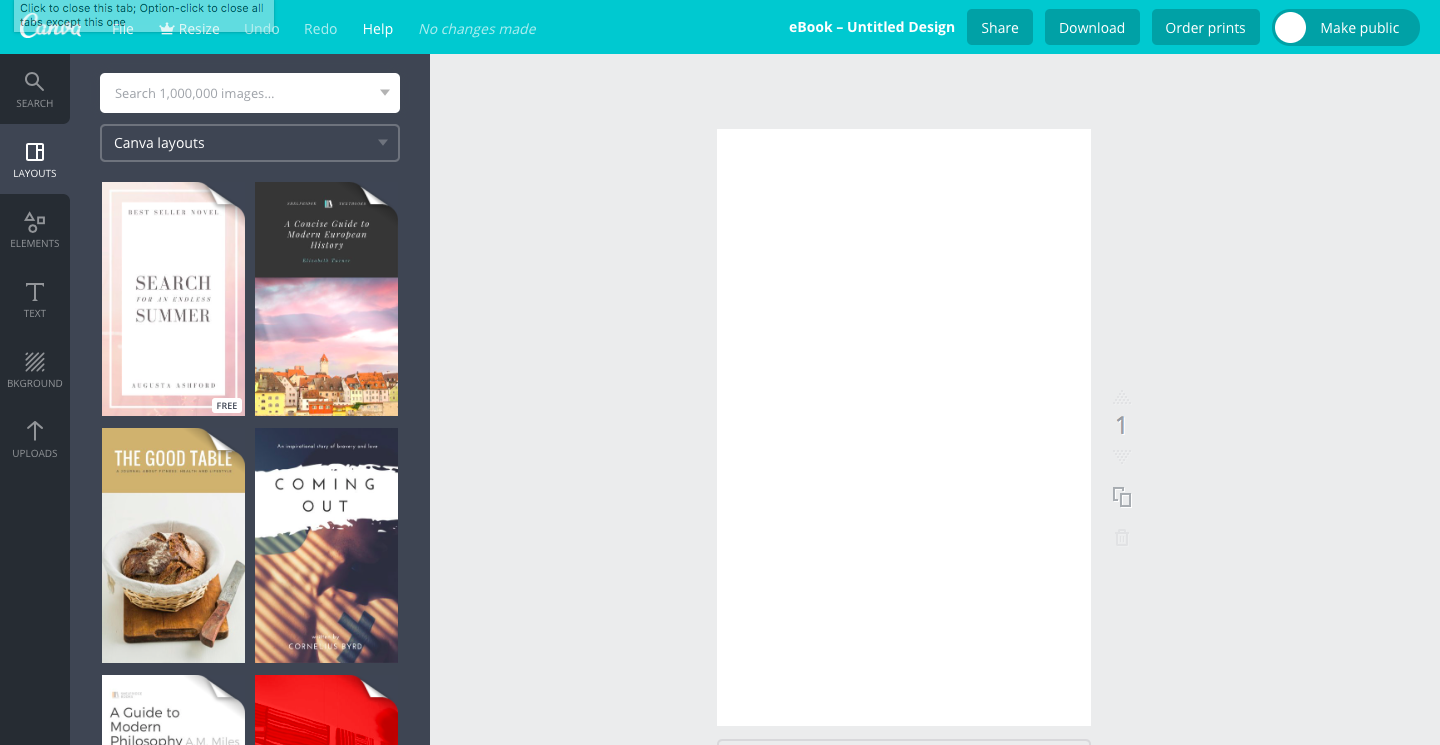
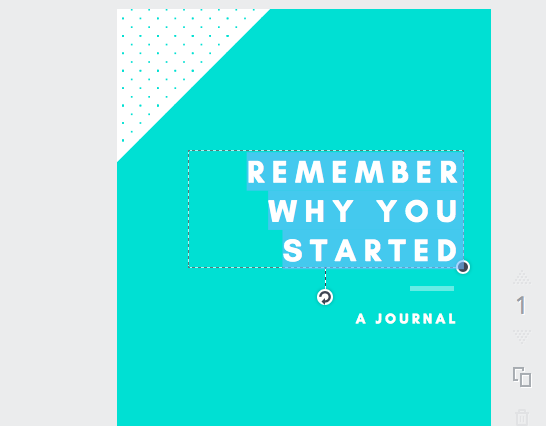
On the left side, there are pre-designed templates of professional designers. You can pick your favorite image that matches your theme, genre of the book. Click on that and it will appear in the blank box.
Note: Pick the image that has the word “FREE” at the right bottom, Each and every line that you see on the design can be moved up-down, right-left, colors, fonts. Now change the words to your book title.
Changing background image: Double click on the background. Go to Upload image (left vertical bar). Pick an image and upload. It will get added to the collection. Double click and Replace with your new uploaded image.
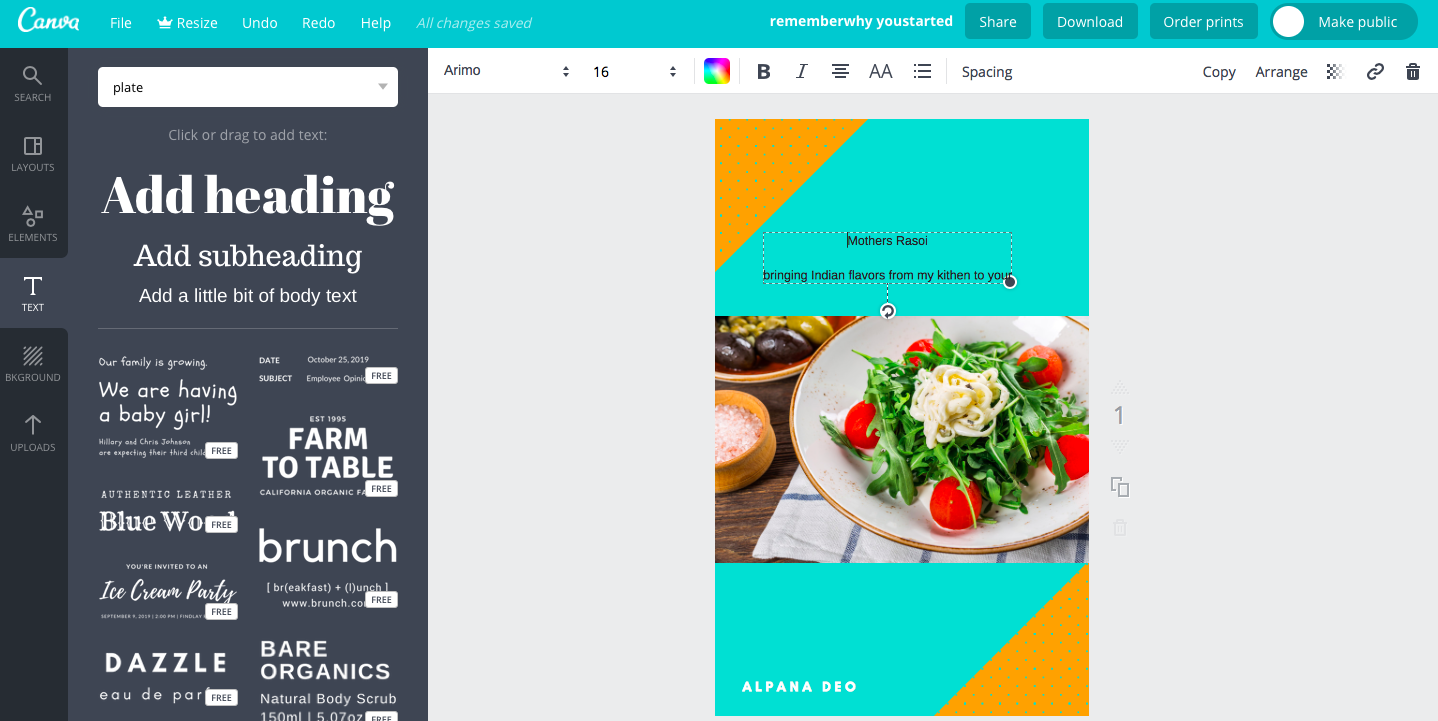
You can pick a lay-out that you like and then change the pictures. In the search box, you can type your keywords and look for images. For this demo, I searched for a plate and picked the one I liked the most. You can position it wherever you want to. You can reduce/increase the size as well.
Text: Click on the Text and pick the style you like.
Spacing: You can change the spacing between the lines or spacing between the letter by clicking on the text and then click on Spacing. You will get two options 1. Line height 2. Letter
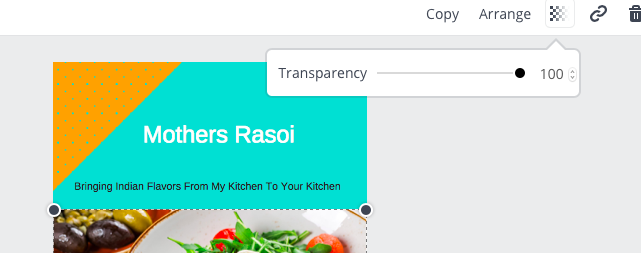
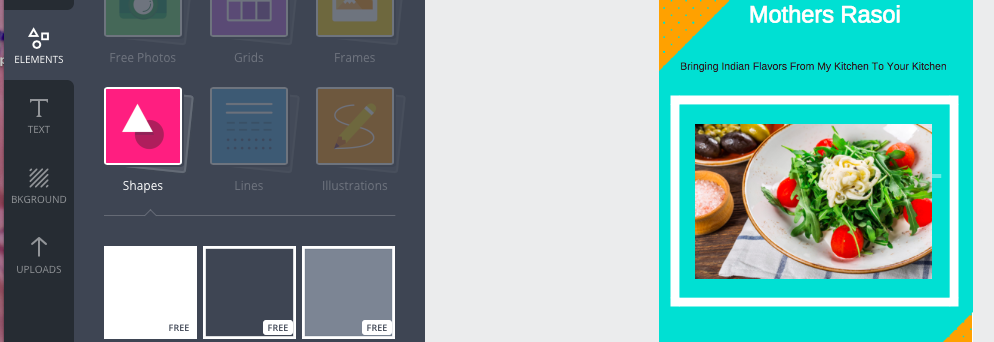
Inserting Other Elements: Adding grid (for more than one photos like a collage), frames, shapes, (I use is quite often), lines (as border or divider), icons is easy on canva. In my book cover, I wanted the text to go on a box so I picked shapes. Same as text, you can change the color of these elements. You can make the box transparent to make the background image show. For this demo, I wanted a border for my image.
Once you are satisfied with the overall look, Download it and save it. Your cover page is ready to use.
Voila!! You did it. You can follow the same steps and design images for your posts as well.
